English
Architectural panels built for aesthetics and performance — perfect for modern commercial and residential designs.
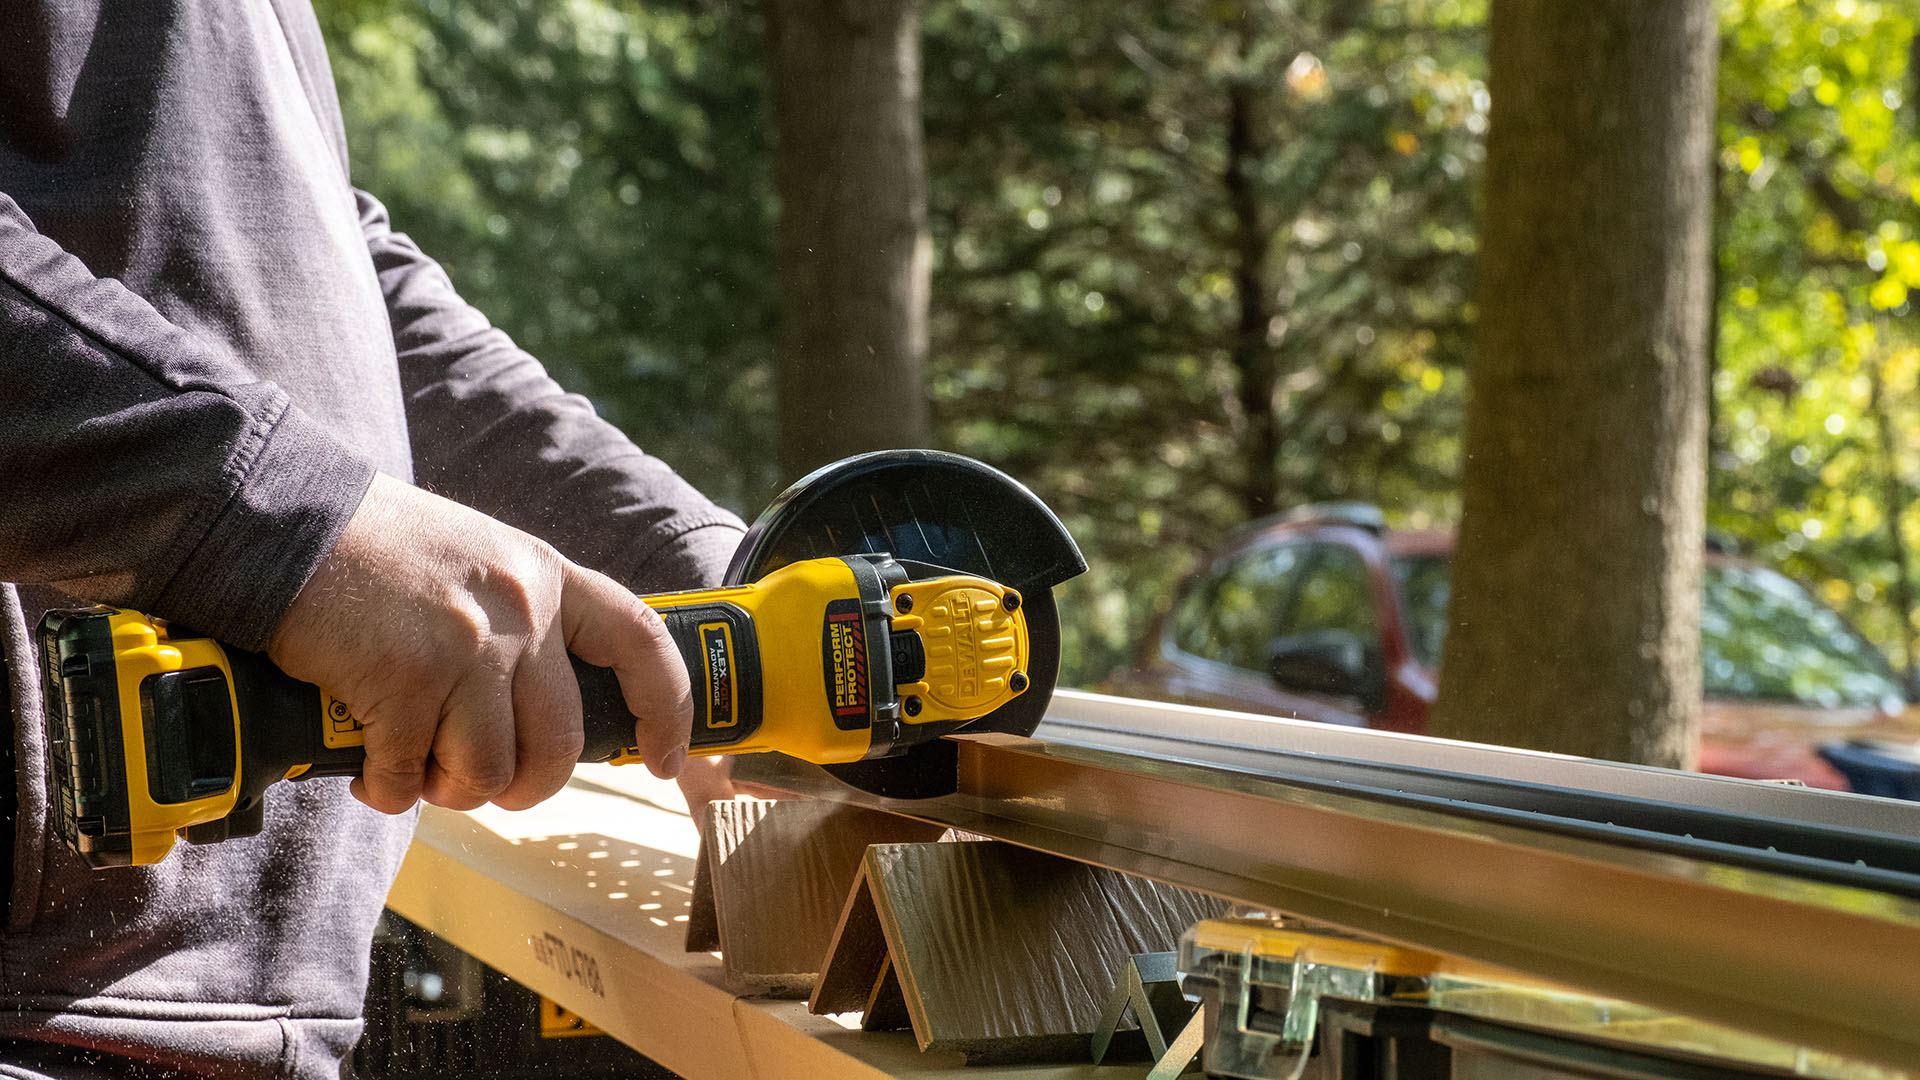
While specialized labor like masonry isn’t required, installing Nichiha’s Architectural Wall Panels is a detail-oriented process that requires precision and accuracy, much like finish work. When done correctly, installers help create a long-lasting, durable facade. Check out the resources below to ensure a successful project from start to finish.
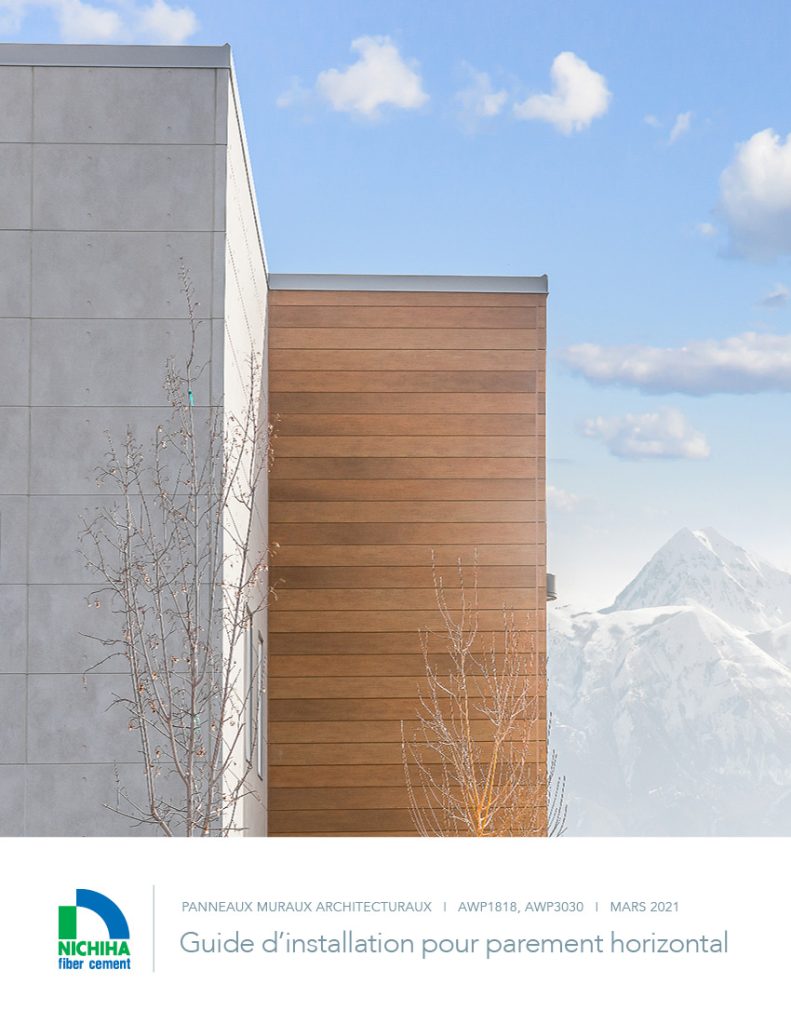
View or download our Horizontal Installation Guide for AWP products. Also available in Spanish or French.
View or download our Vertical Installation Guide for AWP 3030 products. Also available in Spanish or French.
An overview of our Architectural Wall Panel products and technical requirements
General instructions and installation guidelines for Sierra Premium Shake and Savannah Smooth
Supplemental guide to AWP installation for modular construction
Below is a list of materials you’ll want at your job site. When possible, we’ve linked to trusted distributors to make this as easy as possible. You can also download a one-page PDF of this list.
View our latest Commercial Full Line Catalog to see products, specs, and inspirational project photography.
Download Catalog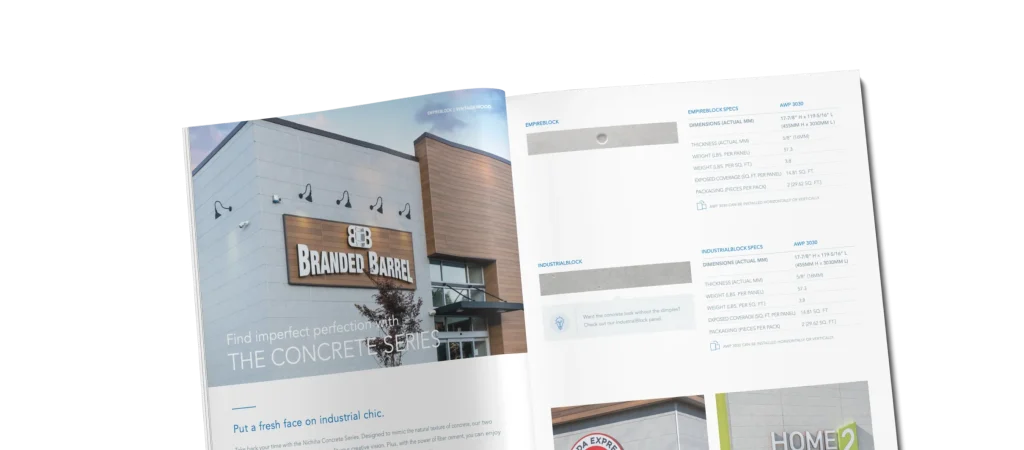
Browse our variety of samples to fit your projects and place your order to get your a shipment in two business days!
Order a Sample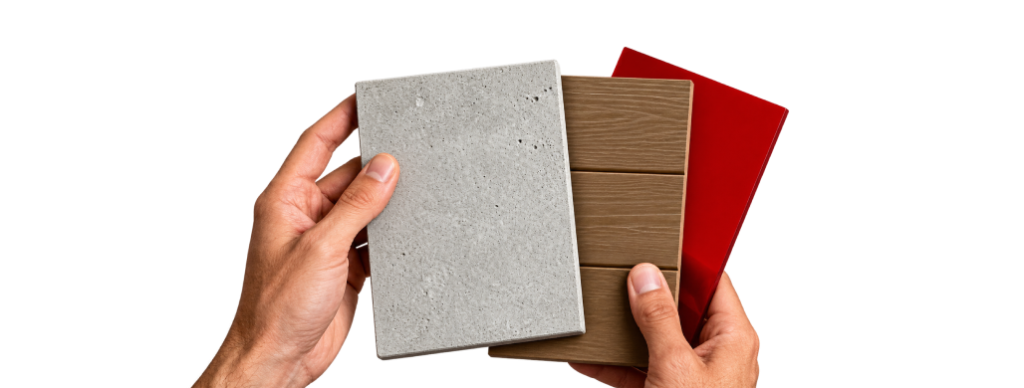
AWP may be installed on forward-leaning or sloped walls in accordance with the Soffits & Angled (Non-Vertical) Walls section of the Horizontal AWP Install Guide. Backward leaning or sloped walls are not approved because in this condition the panels would be exposed to accelerated weathering. AWP may not be installed over curved surfaces but flat segments that are faceted or segmented are feasible. Please submit your project contact and project information via our Contact a Rep or Technical Design Review forms.
Nichiha panels install onto standard wood or cold-formed steel framing using Nichiha hidden clip systems, eliminating the need for heavy masonry footings or extra structural reinforcement.
The good news is an entire wall or column of product does NOT need to be removed to repair or replace a panel. A basic concrete patch can be used for repairs. If the panel is damaged enough to need replacement, there is a simple process for this outlined in our Installation Guide. Basically, one panel is cut out and another panel is placed and fastened.
The good news is an entire wall or column of product does NOT need to be removed to repair or replace a panel. A basic concrete patch can be used for repairs. If the panel is damaged enough to need replacement, there is a simple process for this outlined in our Installation Guides. Basically, one panel is cut out and another panel is placed and fastened.
Complete this form and one of our field tech reps will reach out to connect you with a Nichiha preferred installer in your area.